
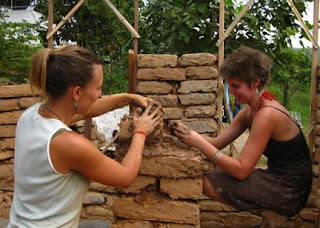
The form of the building is almost complete and now for the artistic part! It's time to plaster the mud brick walls to help protect them and add strength and beauty to the building. First we learned about the different components that go into earthen plasters and the purpose of each layer: base or scratch coat, and finish coat. The clay we are using is a beautiful red, so the exterior will be plastered with a rough coat only for the time being. The mix for this one is 4 clay: 3 rice husks: 1 sand and water as needed (if the clay wasn't pre-soaked, it was about 4 in that ratio). On the interior we will have at least two coats, and a lime paint in some areas. We are also carving niches and doing a bit of sculptural work on the interior.
Creativity abounds!
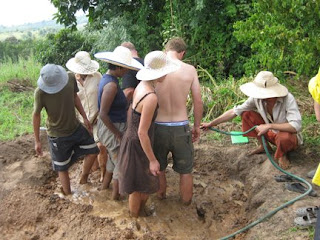
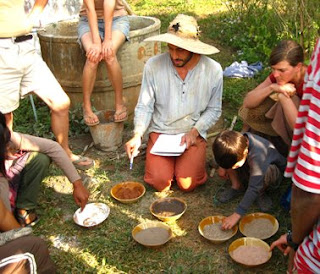 Learning (through all the senses) about our materials
three niches follow the stairs--
simply can't to plaster these, stay tuned for more pictures!


 Benito window detailing


 Oi carves a niche
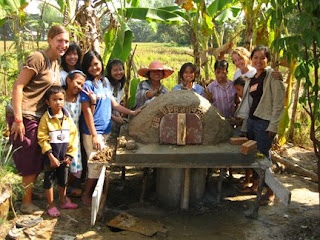


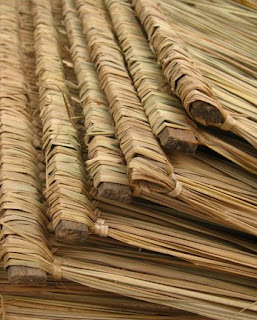


 We thatch from the bottom up, each layer is about 4 iches above the previous row.


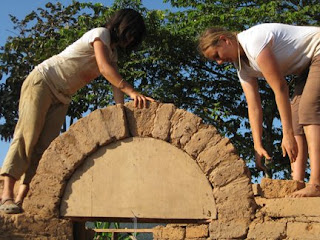
 Probably the most fun aspect of using adobe is building arches. These make great door and window openings. And they the surprisingly strong and can bear a lot of weight. First, build a wooden form and support it at the level you want to start the arch. Then as you build arch the form, use a string attached to the center point to keep track of each brick's alignment.




 And probably the hardest part of it all... getting the bricks from the brickyard to the building site! We make it a group effort and have about 30 minutes of passing brickis on a 'brick line' each day.


